Ads 468x100px

Pages

Thursday, March 29, 2012

❤ Sweet & Innocent Eyes

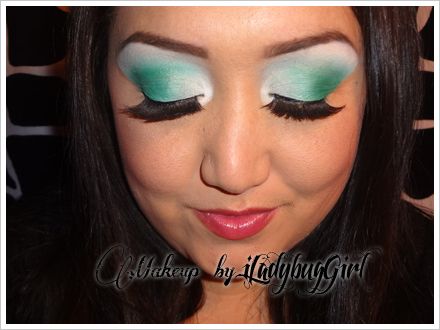
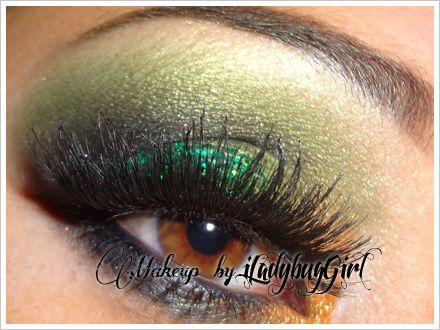
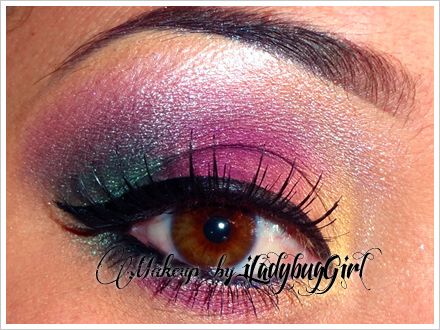
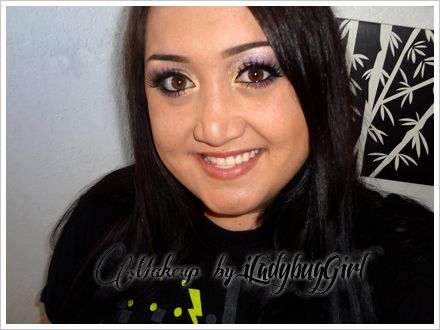
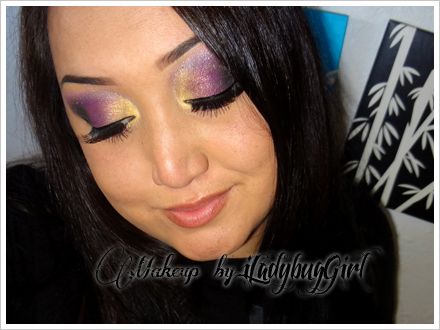
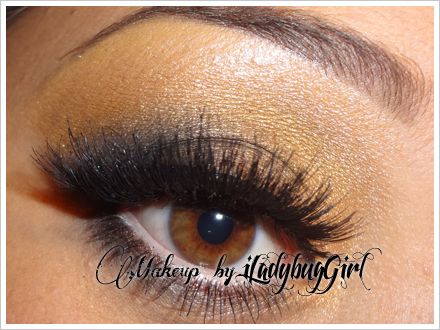
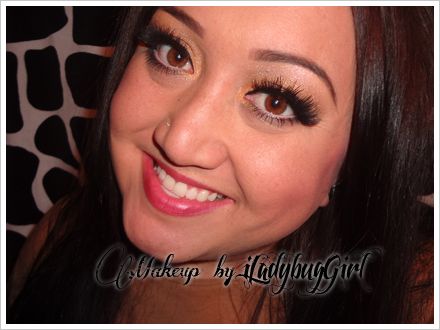
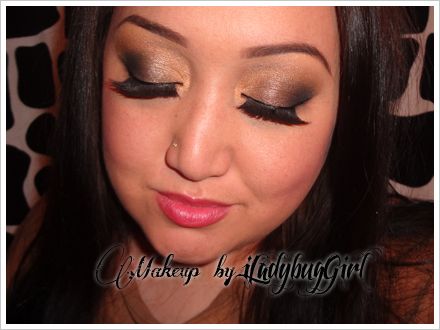
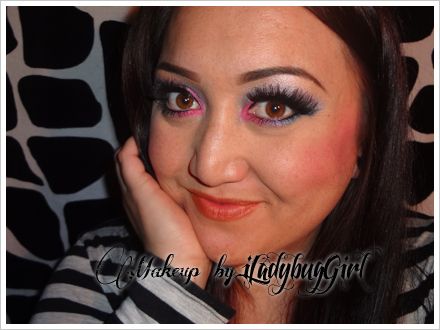
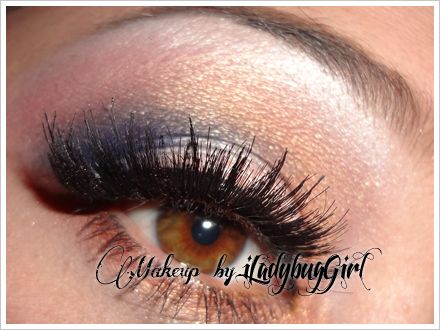
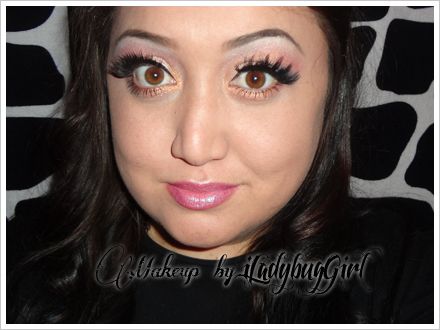
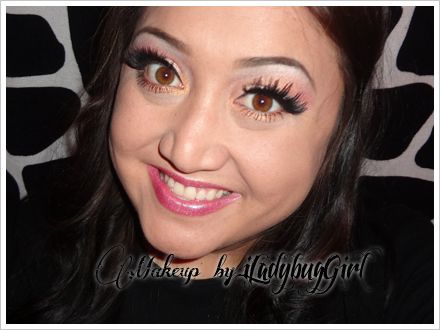
I decided to do a look that's more of an everyday look. Its simple and includes all Inglot eyeshadows. I use a lot of the same techniques in other tutorials. I wanted to share with anyone who was curious if I can attempt a more subtle look with my bright palettes from Inglot. So using a lot of golds and bronzy colors, this is the look I came up with. I hope you all enjoy. If you haven't tried Inglot, you need too! I really fell in love with their freedom system. I've seen a bunch of videos promoting this awesome thing the company does so I check it out for myself when I visited their Vegas store over a year ago. I tested a bunch of the eyeshadows and got myself a palette. I have a swatch video, which you can click here for if you wanna see more on it. The only thing that sucks about Inglot is that their shadows are named by numbers so its much harder to remember a color or shade that you love. But I do remember the amazing yellow color is number 60. lol Anywho, overall I hope you enjoy this look.

Click here for the video.


Sunday, March 25, 2012

❤ Yellow & Pink using MAC

This look was creating using almost all MAC shadows. I realized when making the video that I was completely out of my highlight colors, so I gotta stock up soon (which is always fun cause that means I get to go shopping!) Anywho I wanted to attempt a unique look by not darkening the outer corner, instead I let the bright pink shadow flow from the top of the lid and around to the bottom like it does at the inner corner. It was difficult trying to get a good photo where you can see that but I think I managed a good one for you. I hope you like this look, I'm really happy with it because the yellow shadow, Goldenrod, I never really used before. When I had bought it I guess I didn't test it out first, but it does not swatch well at all. I would have never gotten this shadow because of the lack of quality in the swatch, but since I decided to attempt to use it in this look, it came out really nice and now I'm super happy with this color. I've said before I've been on the hunt to find a great yellow eyeshadow and this one work really well. I hope you like this look.

Click here for the video.


Tuesday, March 20, 2012

❤ LORAC After Affair Palette Swatches

LORAC is beginning to be a fave of mine. I only own 2 of the palettes and I also have an eyeshadow trio as well. Actually I have used their liquid eyeliner and it was my favorite for a while, until it dried out and I didn't want to splurge $20 bucks on it. Well anyway as I wonder off subject, the After Affair palette is pretty good. My fave color in this palette is the deepest purple. Other than a good yellow, I've been on the hunt for an impressive deep purple that doesn't come off too black. And this one is pretty good. The colors aren't named but I swatched them left to right in the palette the same on my arm. You can see it has good color payoff. The blending is pretty decent too. I'm not wow-ed by the packaging. It does have a small drawer area for maybe a lipgloss or something. I left a brush in there and I forgot about it and couldn't find it for a long time until I did this swatch overview for you LOL. Oh well. Check out the video for side by side pics of the shadow next to the swatch.

Click here for the video.


Saturday, March 17, 2012

❤ Festive St. Patty's Day Eyes

Super simple look for St. Patrick's Day! Its bold and in your face and all I used were two colors! Crazy right? I wanted it to be really easy so I wanted as few colors as possible and I think I did a great job at making that work. The two colors are from the same palette, Sugarpill Sweetheart palette, Midori and Tako. I hope you try this look and like it. Thanks for watching and reading! =)

Click here for the video.


Thursday, March 15, 2012

❤ Lucky St. Patrick's Day Eyes

Here is my first St. Patty's day look for this year. I will be doing one more look before the holiday. This look I used Jesse's Girl Sunlit Cactus and Kiwi Rose, Inglot #58 and #64, MAC's Bio Green, ELF liquid liner and some green glitter. These steps are pretty easy to do, check out the video if you wanna give this look a try.

Click here for the video.


Monday, March 12, 2012

❤ Colorful Eyes using Concrete Minerals

Here is my 3rd look using Concrete Mineral eyeshadows. I ordered more colors since I had such a great experience with it the first time. The colors I got were 3 from the limited edition Valentine's collection, Cupid, Sweetheart and X's & O's (which is my fave now!) and I also picked one that was part of the crave sale, Swamped. And I got a sample of Vegas in my package as well. That's always exciting. So this look includes the following colors: Vegas, X's & O's, Swamped, Rocked & Sweetheart. If you've seen the video, you may notice my voice is a bit off. I'm recovering from a cough, I did my best to sound normal, so I'm sorry if I sound like a creepy man lol. Well enjoy the photos below and check out the video.

Click here for the video.


Saturday, March 10, 2012

❤ Neutral Eyes using Concrete Minerals

Here is a simple neutral look using Concrete Minerals eyeshadows, lip tint and eye primer. My tutorial has easy step by step instructions on how to achieve this look. I really like how it looks with white eyeliner. The colors I used in this look are Ruse, Rocked, Troublemaker and Souljourner. Eyeliners are ELF black liquid liner and NYX pencil liner in white. Let me know what ya'll think, if you have any suggestions feel free to let me know. Thanks!

Click here for the video.


Wednesday, March 7, 2012

❤ Deep Blue & Pink Eyes using Concrete Minerals

This was a really fun and easy look to create. All eyeshadows are Concrete Mineral products. It includes these colors: Rocked, Wicked, Brat, Zealous & Souljourner. I did this look for a night out with some friends. Its fun and edgy. Other products used: ELF Liquid liner in black, Kat Von D mascara, Concrete Minerals Electric Eye Primer and Lip Tint in Electro, and also NYX powder blush in Mocha. Watch the tutorial for a step by step guide on how to achieve this look.

Click here for the video.